
Steps how to debug Azure published BOT in locally:
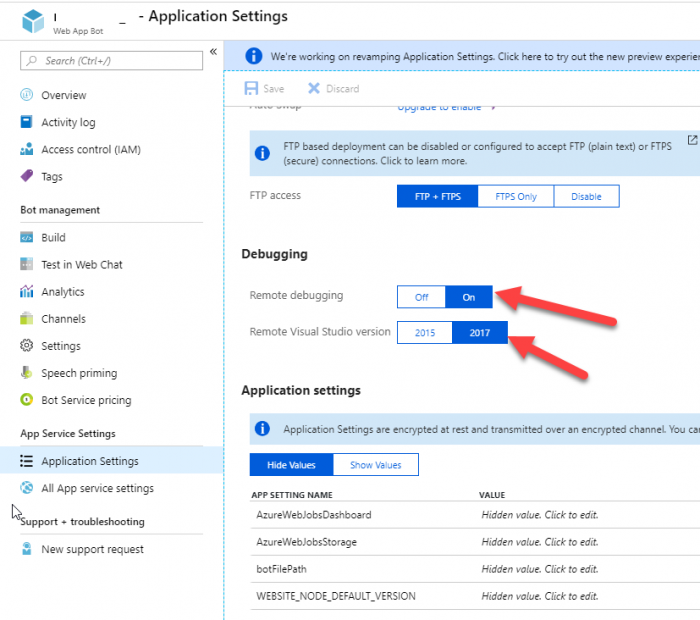
1. Enable Debug in Azure Application setting:
Open Azure Portal. Click on Azure Web Bot.Click on Application Settings, In the Debugging section On Remote Debugging and select your Visual Studio Version.
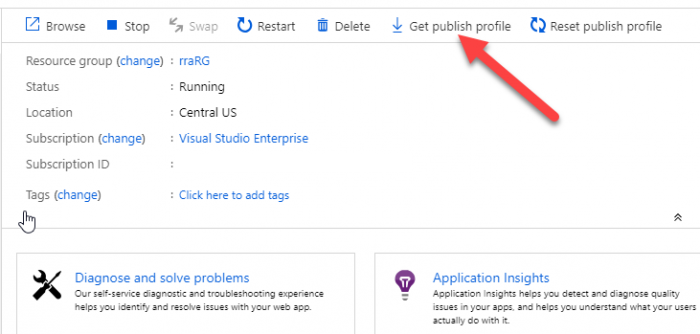
2. Get Publish Settings:
Click on All App service Settings, Click on Get publish profile to get the publish setting with all user name and paths. It will download the settings.
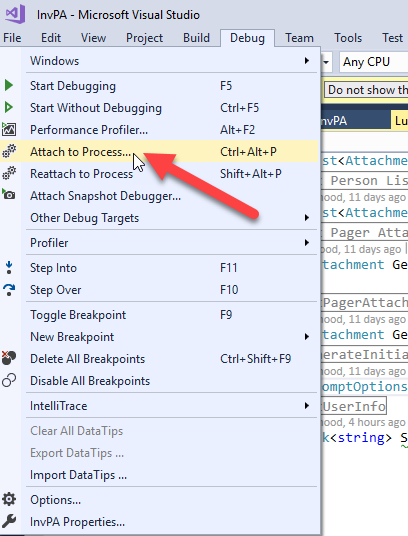
3. Click on the Attach to process ..
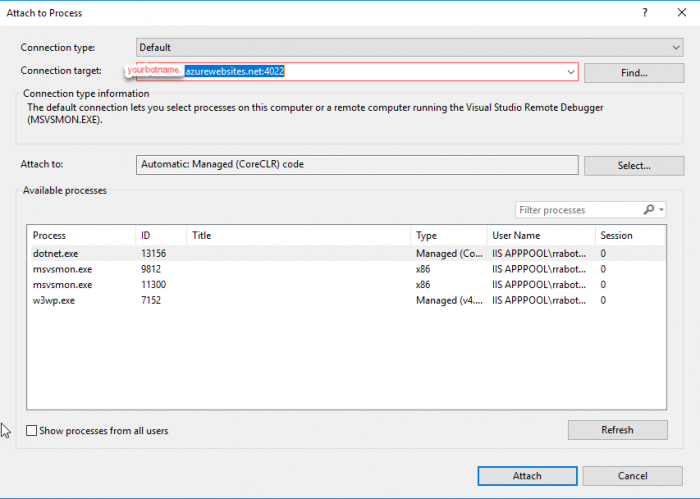
4. In the Connection target: type your bot url without http://. Example: yourbotname.azurewebsites.net:4022, Click on Find Button. This is asking you to give username and password. You need to get your azure username and password from publish file.
http://. Example: yourbotname.azurewebsites.net:4022, Click on Find Button. This is asking you to give username and password. You need to get your azure username and password from publish file.
5. Now run your Web App or Cortana to debug your BOT and the get real Error.